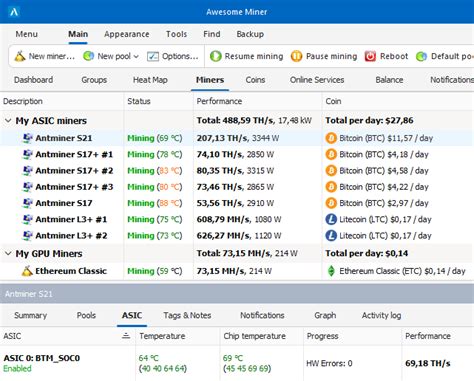
Bfgminer Configuration on Your Dell PowerEdge R200 Server
. However, we know that
In this article,
Prerequisite
*
- Have a basic understanding of the Ethereum and bfgminer exploitation configuration options.
- Download and install the necessary software packages, including “libethcore” and “libethcore-QT”.
Step 1: Install Bfgminer
To start operations with bfgminer, you will need to install it on your server. Run the following Command in a Terminal:
`bash
Sudo apt-get update && sudo apt-get install bfgmin -y
'
This will install the latest version of Bfgminer and its outbuildings.
Step 2: Configure Bfgminer
Then you will have to configure bfgmine on your server. Open and New Terminal Window and Access the "Libethcore-QT" Directory:
bash
CD / USR / LOCAL / LIB / ETHCORE-QT
'
Create a new file calledbfgmin.confwith the following content:
Ini
[General]
Activate = 1
[Teleprinter]
Tick_price = 0.00000000
[Pool]
Poool_name = "
'
Replace” “” with your chosen Ethereum operating pool URL.
Step 3: Configure Your Server
The / etc / etherscan.conf file. Open and New Terminal Window and Access:
`bash
sudo nano /etc/etherscan.conf
'
Add the Following Lines at the Bottom of the File:
Ini
[Pool]
Poool_name = "
Username = "your_username"
Password = "Your_password"
[Teleprinter]
Tick_price = 0.00000000
[GPU]
Activate = 1
'
Replace” your_username “and” your_password “by your username and real Ethereum Extraction Word.
Step 4: Restart Your Server
Restart your server to apply the new configuration:
`bash
Sudo Service Etherscan Restart
` ‘
Troubleshooting Advice
- Configuration option.
- Keep in mind that Ethereum Extraction
With these steps, you should now configure bfgminer on your dell poweredge R200 server. DO NOT FORGET TO REGULARLY MONITORS OF YOUR SYSTEM AND ADJUST THE CONFIGURATION IFSESARY TO OPTIMIZE PERFORMANCE.
Conclusion
The configuration of bfgminer on low power equipment such as Good looks!
Leave a Reply